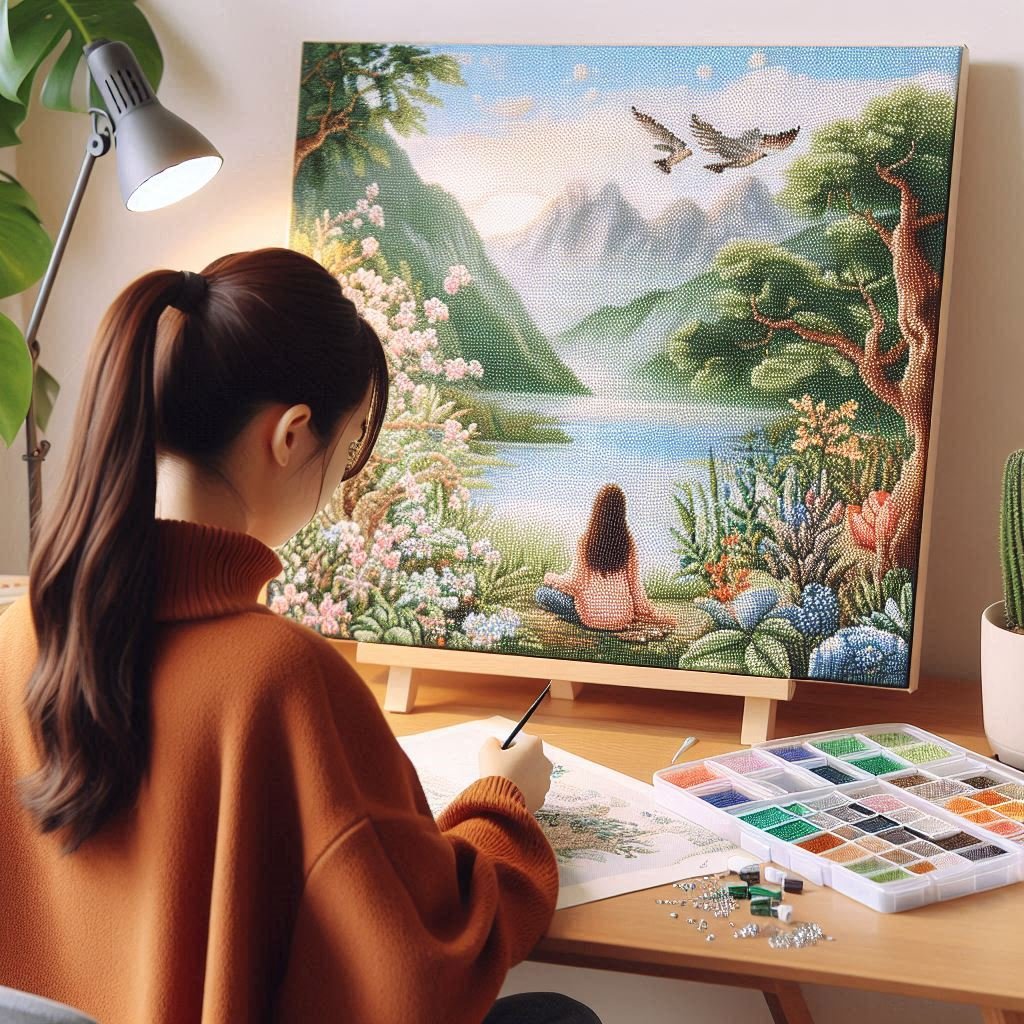
Keeping a diamond painting in pristine condition enhances its beauty and longevity. When considering how to safely clean a diamond painting, a few careful steps can make all the difference. This hobby, beloved by many for its relaxing and creative benefits, requires proper maintenance to ensure the sparkling diamonds remain vibrant.
To prepare your artwork for cleaning, make sure it is free of dust and other particles that might harm the adhesive. Using a soft, dry cloth is recommended to gently wipe away any accumulated dust. Avoid using water or cleaning solutions as they may damage the canvas and cause the diamonds to lose their shine.
For DIY enthusiasts, maintaining the shine and integrity of their completed projects is as important as the creation process itself.Diamond painting for DIY loversprovides both relaxation and a sense of accomplishment.
Key Takeaways
Gently wipe away dust with a soft, dry cloth.Avoid using water or cleaning solutions.High-quality kits enhance the diamond painting experience.
Preparing Your Diamond Painting for Cleaning
Before cleaning a diamond painting, it's essential to evaluate its condition and have the right tools ready to ensure there is no damage to the artwork or the canvas. Proper preparation sets the foundation for an effective and safe cleaning process.
Assessing the Artwork's Condition
Before starting any cleaning, check the diamond painting carefully. Look for any loose drills or diamonds that need attention. This step helps ensure that the canvas is stable.
Pay close attention to the surface and edges. Inspect the protective film covering the painting. If it’s damaged or missing, be extra cautious during the cleaning process to avoid dislodging any pieces.
Detect moisture damage or any signs of dirt embedded in the adhesive. This might affect the integrity of the canvas and how you approach cleaning.
Gathering Necessary Tools and Materials
Gather all essential materials before beginning the cleaning process. You'll need a soft, dry cloth to gently wipe away dust without scratching the canvas. Avoid using water or cleaning solutions as they may damage the adhesive.
Consider a tool kit designed for diamond painting. It typically includesrollersand tweezers that can help in setting loose drills back into place.
Ensure you have a clean and clutter-free workspace. Lay out the diamond painting on a flat surface, free from any debris that could get onto the canvas.
Having these tools and materials at hand will make the cleaning process smoother and safer for your diamond painting.
Effective Cleaning Techniques and Preservation Methods
When maintaining a diamond painting, it is essential to use gentle cleaning techniques to avoid damaging the canvas and drills. Additionally, addressing adhesion issues and sealing theartworkcan enhance its longevity and preserve its sparkle.
Dusting and Wiping the Surface Gently
To keep the surface clean, regularly dusting is crucial. Using a soft-bristled brush or a microfiber cloth, gently remove any dust or dirt from the painting. Avoid using harsh cloths or brushes as they may scratch the surface or dislodge the drills. For more stubborn dirt, slightly dampen the cloth with water, ensuring it is not soaking wet to prevent water damage.
Avoid using chemicals or cleaning solutions, as they could interfere with the adhesive properties of the canvas. A light touch and consistent gentle cleaning ensures the artwork maintains its original sparkle without causing damage to the drills or the canvas layer underneath. If dust tends to collect frequently on the artwork, check of the condition of the HVAC ordust extraction equipmentin the premises.
Addressing Adhesion and Air Bubble Issues
Adhesion problems and air bubbles can arise, affecting the appearance of the diamond painting. To address these issues, use a clean, flat surface like a credit card or a roller to press down the drills gently, ensuring they stick securely to the canvas. For air bubbles, pierce them gently with a needle and then press down the drills to flatten them and restore a smooth surface.
Loose drills can be reattached using a small amount of suitable adhesive. Ensure the adhesive is clear and non-damaging to the canvas. Effective handling of these common issues is vital for maintaining the integrity and appearance of the diamond painting.
Sealing and Enhancing Longevity
Sealing your diamond painting can protect it from dust and potential damage, thus enhancing its longevity. Brush-on sealants and spray sealants like Mod Podge Super Gloss are popular choices. Brush-on sealants offer a thicker protective layer but require careful application to avoid smudging or dislodging the drills. Spray-on sealants, conversely, provide an even coat without direct contact, reducing the risk of disturbing the drills.
Apply the sealant in a well-ventilated area and allow it to dry completely before handling the artwork. This step ensures the diamond painting maintains its vibrancy and sparkle while protecting it from elements that could reduce its longevity.
Conclusion
Cleaning a diamond painting is crucial for maintaining its adhesive and aesthetic quality. By following proper cleaning methods and storage practices, one can ensure the longevity of the artwork.
Gentle cleaning techniques, such as using a soft brush or a clean, dry cloth, help remove dust and debris.
Avoid harsh chemicals to preserve the canvas adhesive. Proper care ensures that your diamond painting remains vibrant and visually appealing for years.
